
How to Lap and Install Scope Rings
Posted by Gunbuilders.com on Oct 4th 2023
So, you just bought that shiny new rifle scope for your favorite long-distance shooter or hunting rifle. You're ready to throw 'er atop the receiver and start sending lead downrange with some sweet, sweet magnification. But wait! Those new scope rings? Chances are they're not aligned. That means your scope won't be aligned with your barrel -- or worse, tightening your scope rings could damage your optic.
Today, we're going over how to properly install rings and a rifle scope. That means getting a little dirty with some gunsmithing tools and lapping compound. Let's get started.
What is scope ring lapping?
Lapping is a fancy term for lightly sanding each scope ring to ensure both are truly circular and that both rings align. Misaligned rings could damage your scope's glass or tube. Since rings are manufactured as two halves, one or both could be more oval than round. Lapping eliminates both of these concerns.
Will not lapping my rings damage my scope?
With today's manufacturing, probably not. But if you're building an accurized bench rifle or you're investing in a quality, high-power optic (or you bought really cheap scope rings), these differences can indeed become noticeable when shooting at distance.
Is lapping my new rings difficult?
Not at all. The process takes about 30 minutes with no technical knowledge. We're about to show you how to do it. The average scope lapping kit includes everything you need to get the job done at home. Let's take a look at the tools and parts you'll need.
Lapping Rings: Tools Required
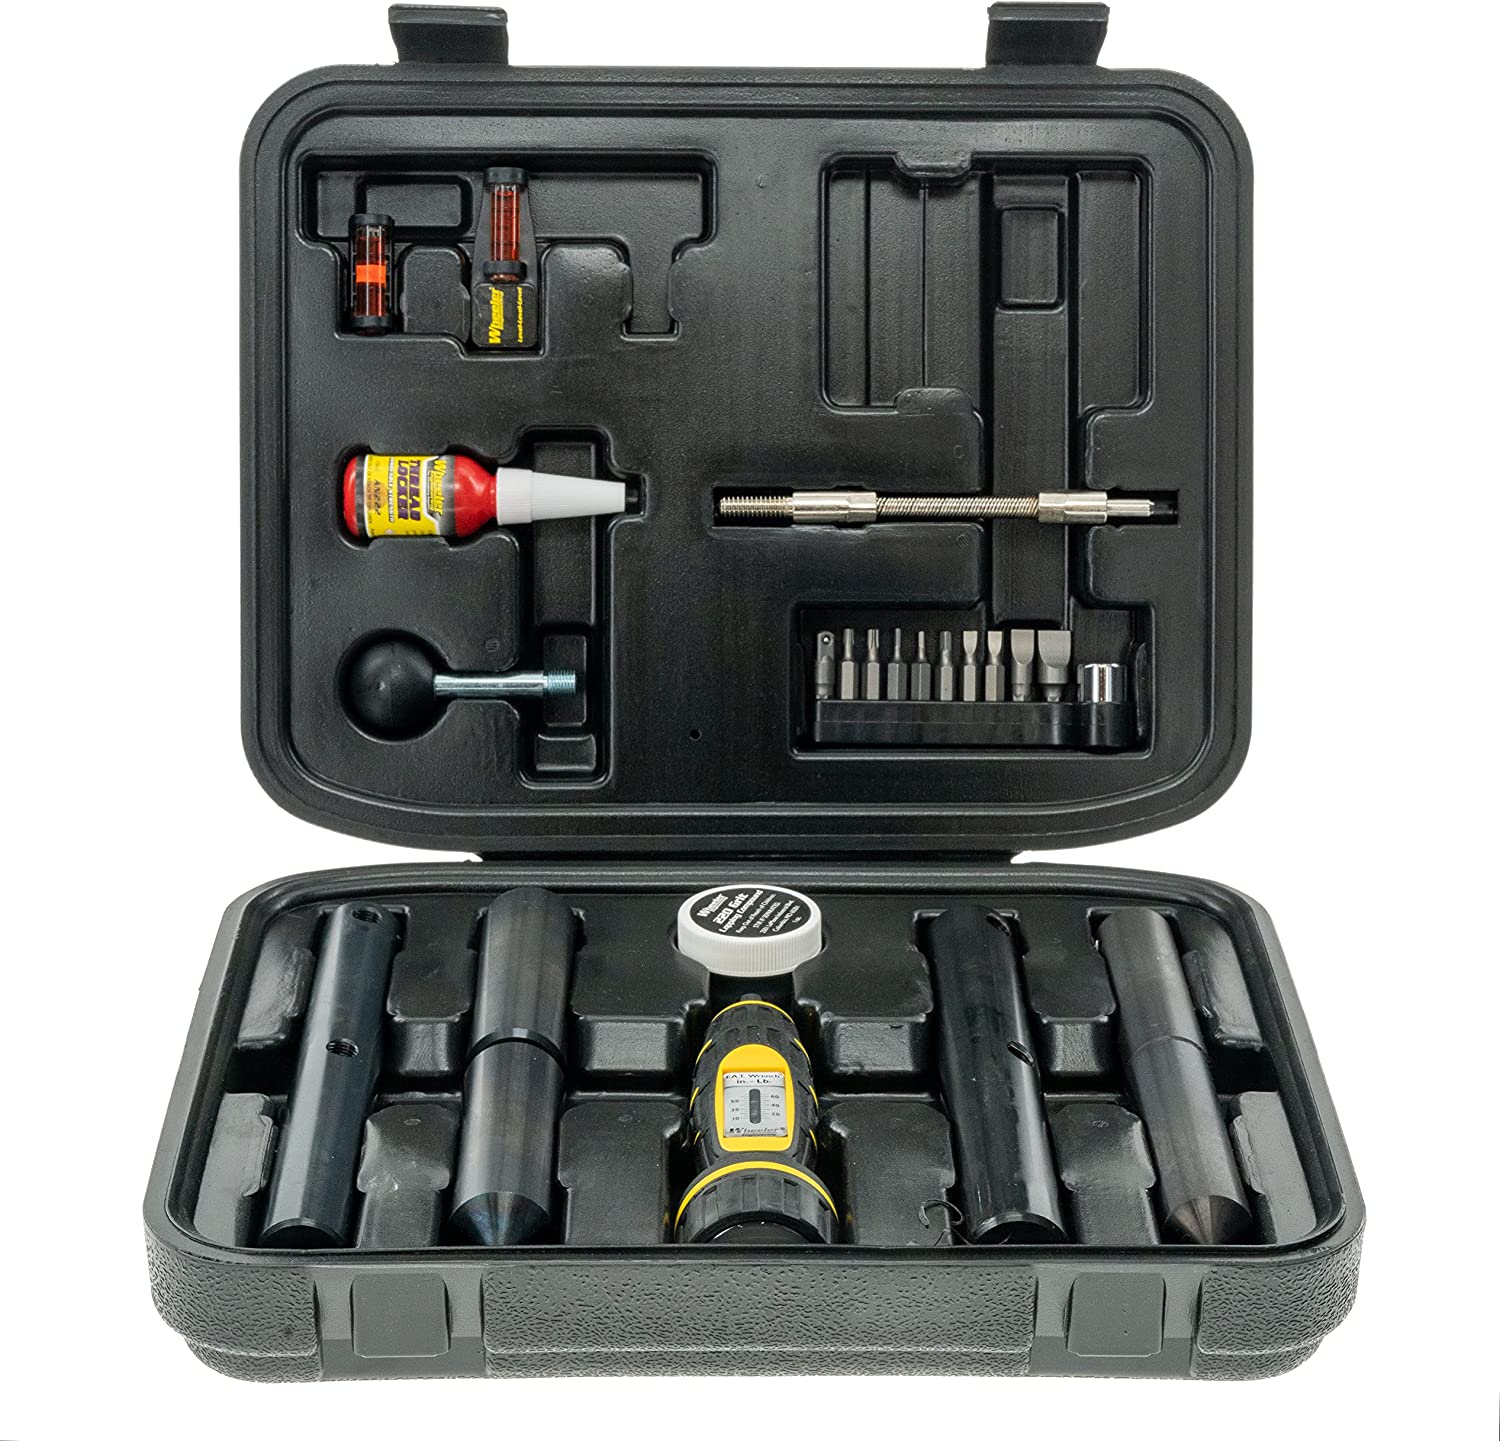
You've a few choices when it comes to grabbing all the tools for this project. If you already own an inch-pound torque wrench, some Loctite, and the right bits for your rings' bolts, then you can grab the more affordable Wheeler Lapping Kit.
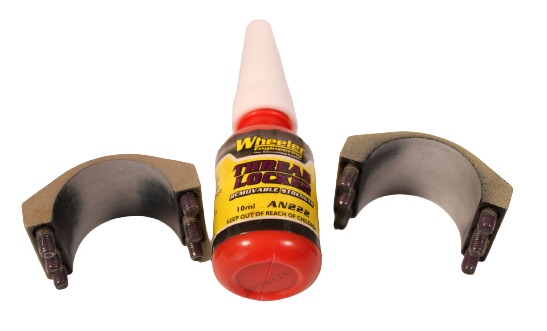
If you want to go full-tilt and get all the tools required in one box -- including a torque screwdriver and fasteners -- the Wheeler Scope Mounting Kit Combo (shown above) includes everything you need in one box.
Lapping Bar + 220-grit Compound
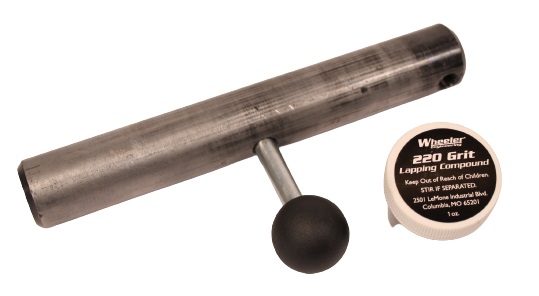
The lapping bar and 220-grit compound are used together to sand your rings for that perfect fit. Lapping bars in both Wheeler kits come in 1" and 30mm for both common ring standards.
Ring Alignment Rods
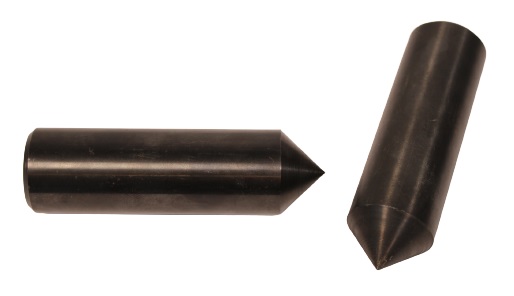
Lapping alignment rods are precision-machined steel rods. Each comes to a perfectly centered, conical tip. During the lapping process, you'll use these rods -- also provided in 1" and 30mm -- to continually check for perfect ring alignment. When alignment is achieved, the tips of each rod will meet along the X and Y axes of your rings with no measurable deviation.
In.-Lb. Torque Wrench / Screwdriver + Fasteners
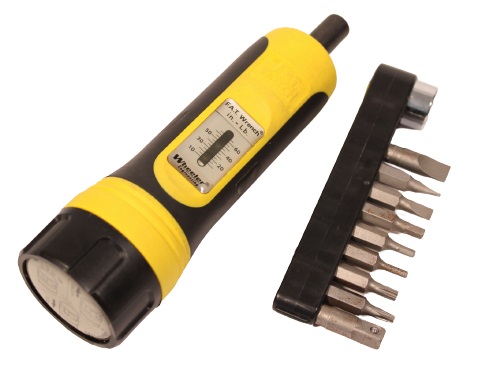
The Professional Wheeler Kit includes the famous "FAT" Wrench. This wrench provides precise inch-pound torque measurements for properly tightening most common ring and scope mount bolts -- Torx, hex, flathead -- which is necessary during the lapping process, and for final installation of your scope.
This writer is using a torque ratcheting wrench for this install, but has used the FAT Wrench extensively and reviews it positively for its function and accuracy.
Loctite / Fastener Adhesive
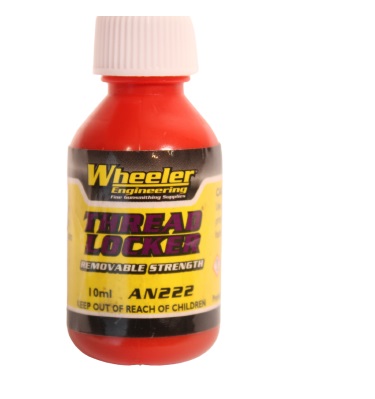
Wheeler includes their own brand of thread locker, and it works well enough. This shooter found it tends to lose its grip after a few years of long-range .30-cal shooting. It's recommended to use a fair amount of the stuff if you buy the Pro Kit. Or just grab some regular ole' Blue Loctite. This is necessary to ensure all that time spent torquing your fasteners doesn't go to waste after a few trigger pulls.
Magnetic Bubble Levels (Optional)
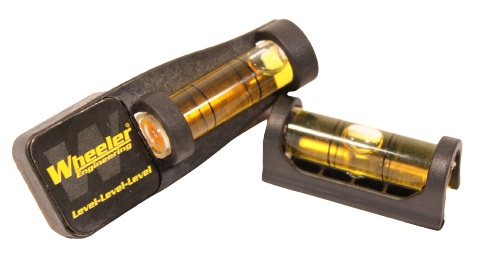
Although technically not required, these magnetic bubble levels are designed for ensuring your scope's crosshairs are correctly centered on the X and Y axes, relatively to your bore. You've come all this way, having done some excellent hand lapping. It'd be a shame to waste all that work on a wonky crosshair that's canted left or right.
These bubble levels come only in Wheeler's Professional Kit. Of course, you can probably grab some magnetic bubble levels at the local hardware store.
How to Lap and Install Your Rings
Finally, let's get to it: First, grab your scope rings and your optic, plus the rifle and mount you'll be using.
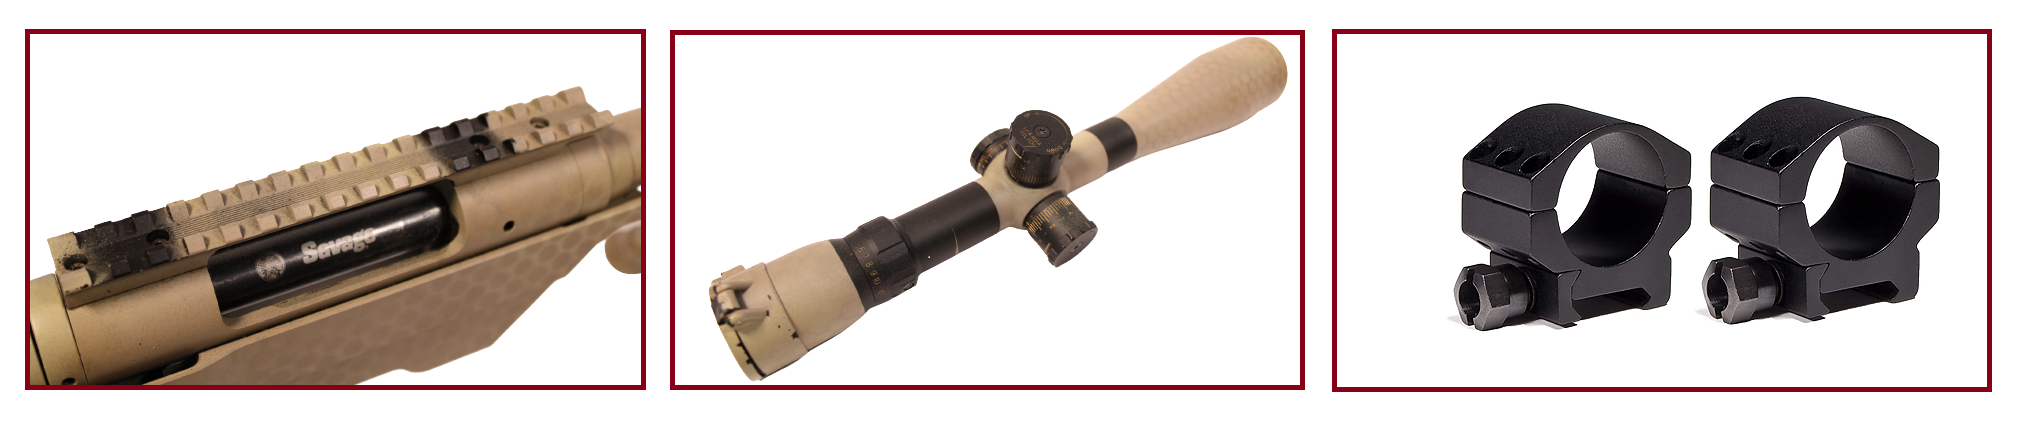
For this guide, we're using Vortex Tactical 30mm Scope Rings, paired with a Sightron SIII 6-24x50 scope. It's going atop a custom Savage 10T (chambered in .308) this writer upgraded some years ago.
Disclaimer: Yes, this rifle was set up! But this guide still shows all lapping and install steps in proper form.
1. Mock up ring and scope placement
Install your scope mount base(s) if not preinstalled atop your rifle's receiver. If your mount base was preinstalled, remove the fasteners and ensure they have Loctite applied. Reinstall and torque to the manufacturer's specification. If no specs are provided, the typical scope ring mount is torqued to between 15 and 30 inch-pounds.

Next, rest your rings and scope atop the mount(s) to determine optimal positioning.
Don't worry about tightening anything yet. First confirm proper scope placement by:
1. Checking that you can obtain good eye relief and a comfortable shooting position behind the optic.
2. Checking that your rings and optic don't interfere with your bolt and/or the ejection port.
Adjust the placement of your rings and scope as needed until you're happy with the setup.
2. Tighten bottom halves of rings to mount(s).
Next, tighten the bottom halves of each scope ring to the mount(s). Torque to manufacturer's specifications. For our Vortex 30mm rings, we're torqueing to 45 inch-pounds. Loctite or thread locker is not necessary in this case: These rings' -- and most others -- base clamp screws incorporate a spring washer to prevent loosening from recoil.
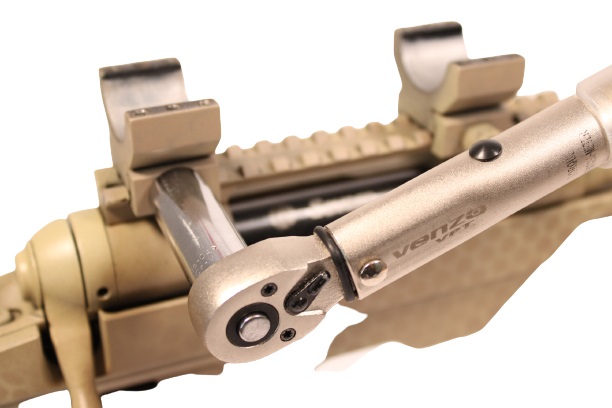
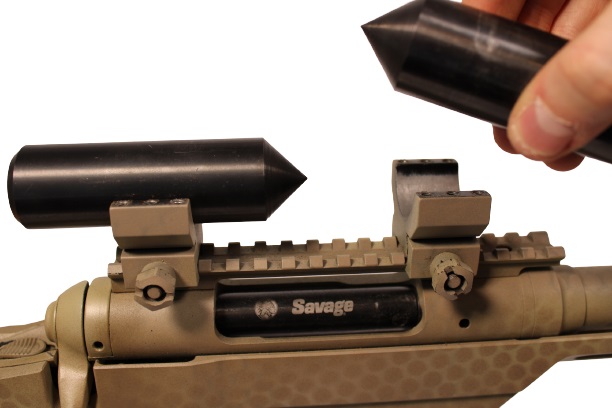
3. Insert ring alignment rods and torque to spec.
Now it's time to find out how messed up your scope rings are: Insert the appropriately sized alignments from the Wheeler Kit -- 1" or 30mm, in our case -- and torque your scope rings to spec. For our Vortex rings, they should be torqued to 15 to 18 inch-pounds.
4. Verify ring alignment (or misalignment).
Most decent, modern scope rings will show minor misalignment. Even with this writer's previously machined rings, we can see there is, indeed, about 1mm of misalignment along the Y (vertical) axis after a few years of shooting and handling this rifle in hot and cold conditions.
Now we can confirm it's time to do some hand lapping with the Wheeler kit. Loosen the rings again, remove both alignment rods, and collect the lapping bar, ball handle, and 220-grit compound.
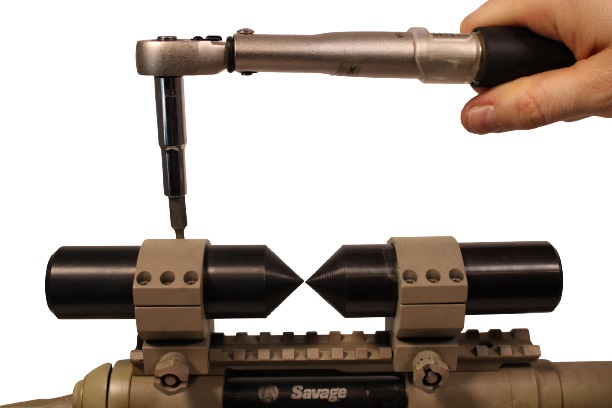
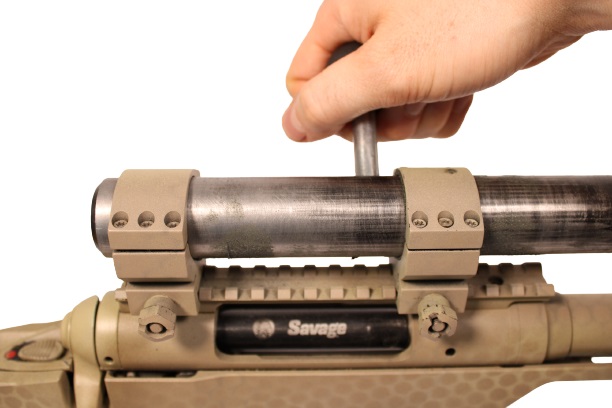
5. Apply compound, insert lapping bar between rings.
Generously apply lapping compound to all ring sections, as shown. Next, thread the ball handle to the lapping bar and, and insert the lapping bar into the rings. Only tighten the rings until you begin to feel moderate friction between the bar and rings.
Do not attempt to torque rings to spec. You will not be able to move or rotate the bar, and you may damage your scope rings in the process.
Tips for lapping: Make forward-and-backward passes with the bar, running the full length available, until the bar handle approach each ring. Rotate the bar clockwise and counter-clockwise while lapping. As you begin removing material inside the rings, the fitment between the rings and bar will loosen. Key words here are "slow" and "steady".
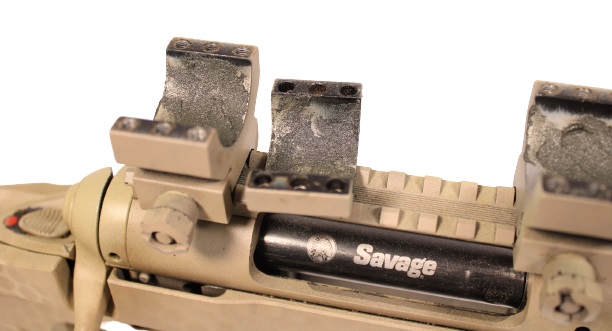
You do not want to remove too much coating or metal from inside the rings. Doing so will ruin your rings' ability to clamp your scope's tube with proper torque. This writer conducted approximately a dozen (12) passes with the lapping bar before removing the bar and inspecting his work:
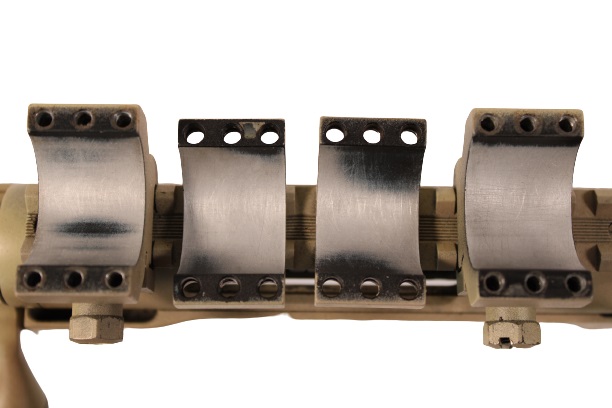
Once cleaned of compound, you should be able to see where coating/material was removed from inside the rings. These patterns will not appear consistent. Variances in manufacturing and the coating process will result in high and low spots. The goal of this project is to even out those spots. Note how some rings have black coating remaining. These are low spots.
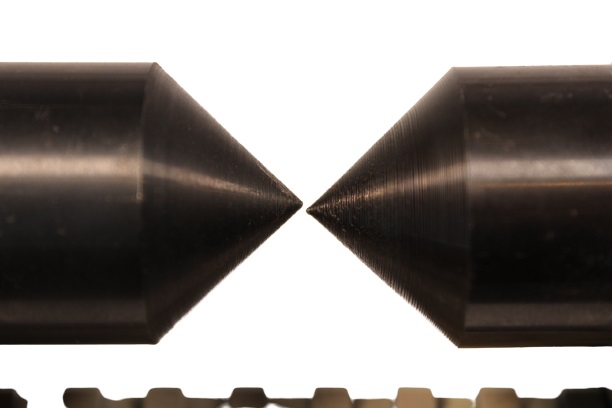
Reinsert and torque rods. Check for alignment.
Once your rings have been thoroughly clean of compound, reinstall the alignment rods to check for fitment. Remember to properly torque the rods before checking! Below, we can see after lapping the alignment rods' tips meet perfectly square.
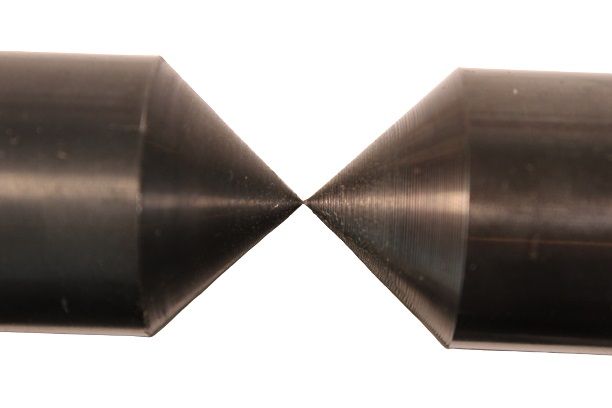
If your alignment rods do not meet as shown, repeat the lapping process with light pressure and a few passes, then check again. Also check alignment by looking from the top down, to verify the rods meet centered along the X (horizontal) axis.
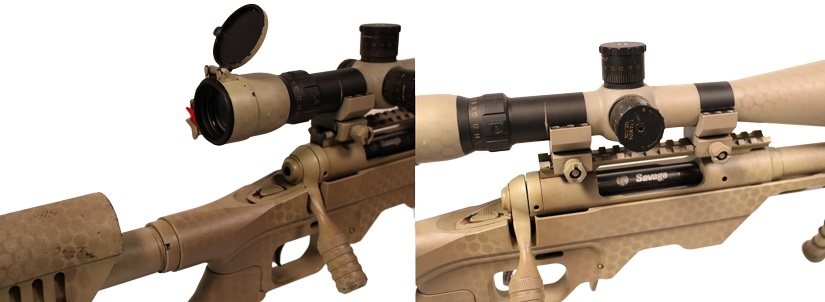
After alignment, insert scope (optional, use bubble levels).
First, apply a generous amount of provided thread locker to all the ring bolts. Then insert your scope in the rings, and place the top halves of your rings in place, loosely clamping the scope.
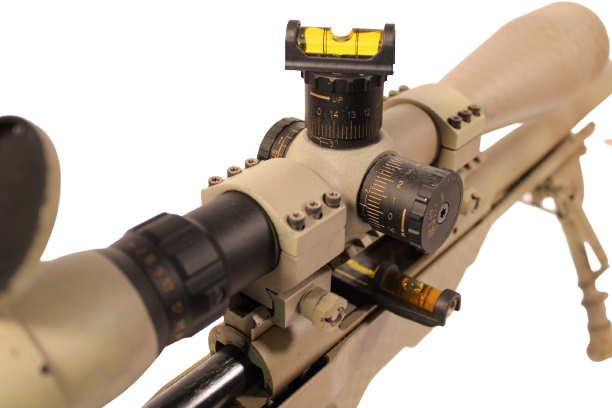
If you're using bubble levels, place one bubble along the plain of the receiver/action, and level the rifle itself atop your table or workstation. This writer placed shims under each bipod arm. One of the levels provided by Wheeler's Pro Kit includes an off-set magnet for this purpose. Place a second bubble level atop the windage adjustment knob.
(The manual method)
If you do not have bubble levels, then level the rifle to the best of your ability on a flat surface. Then visually inspect the reticle inside your optic and manually align it by sight. Do not try to level the reticle from a shooting stance. You should view the reticle up and down by standing or sitting upright behind the buttstock.
Torque scope rings from corner to corner.
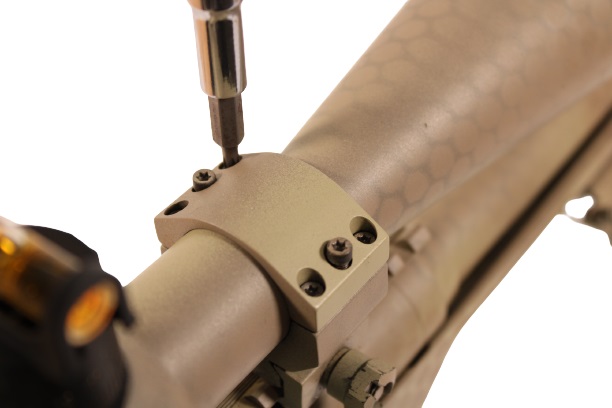
Using the appropriate bit, begin torqueing each scope ring bolt. Start at the four corners, then work your way toward the middle bolts (if applicable, some rings only have two or four bolts). Our 30mm Vortex rings call for 15 to 18 inch-pounds of torque. This torque spec is generally "universal" and applicable for all scope rings.
Do not exceed 20 inch-pounds! You risk damaging your scope's tube or glass inside. Thread locker, and not "Gorilla tightness", is responsible for keeping everything snug while shooting.
Your Scope Ring Install is Complete!

You're now the proud owner of properly installed rings with a perfectly aligned, torqued scope. Now you can be utterly confident that all rounds you send downrange will hit their point of aim and impact -- at least relative to your shooting ability and knowledge of scope adjustments!
DISCLAIMER: If you are new to the world of DIY gun building, you likely have a lot of questions and rightfully so. It’s an area that has a lot of questions that, without the correct answers, could have some serious implications. At GunBuilders.com, we are by no means providing this content on our website to serve as legal advice or legal counsel. We encourage each and every builder to perform their own research around their respective State laws as well as educating themselves on the Federal laws. When performing your own research, please be sure that you are getting your information from a reliable source.