
What 80% Lower Jig Type is Best? Drill Press/Mill vs. Router
Posted by Gun Builders Depot on Jun 10th 2020
Unlike most metal machining operations, cutting and drilling an 80% lower receiver doesn't require much experience or knowledge of tooling. Thanks to 80% jigs, most of the measuring is done for you. A jig automatically "indexes" or centers the receiver blank for drilling the required pin holes, and the included plates that bolt to the jig guide where you need to cut the inner cavity for the parts kit. Since all AR-15 80% receivers require the same holes to be drilled and the same cuts to be made, all jigs provide the same general setup. Choosing which jig to use will depend on what tools you have at your disposal:
Router vs. Drill Press or Mill
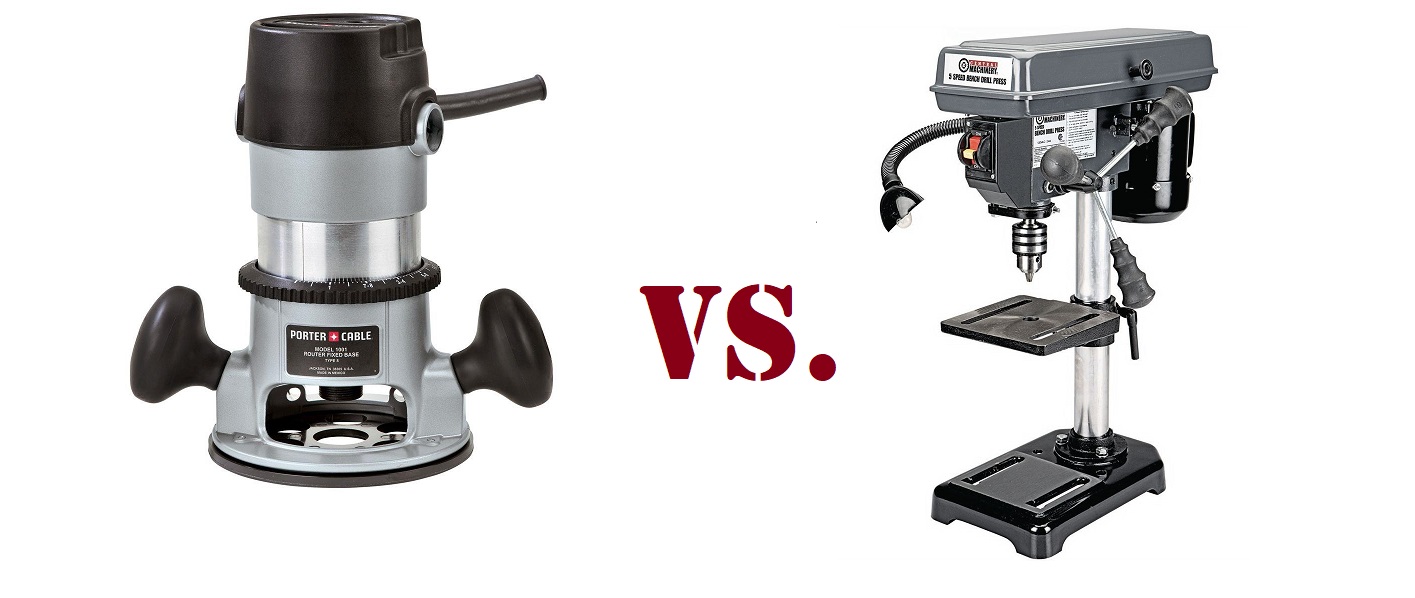
(Obviously, these aren't to scale) Choosing your jig means choosing between using a handheld router or drill press to cut your receiver's inner cavity. When 80% lowers first hit the market, the router-based jig was the only way to get the job done for new builders who didn't have some machining know-how. Today, various jigs have been introduced that do away with the router and its attachments, instead relying on only the top "cutting template" plates to guide the cutting bit.
If you don't own either a router or drill press, you'll at least need the latter: Even router-based jigs require a drill press for drilling the lower parts kit's pin holes, as well as drilling pilot holes for cutting the inner cavity. Let's look at how both types of jigs work.
How an 80% Router Jig Works
A router jig typically consists of the following components:
- (2) Side Plates with holes for drilling the pin holes
- (1) Top pilot hole plate for drilling pilot holes for cutting
- (2) Top cutting template plates, for cutting the fire control cavity
- (1) Router spacer plate, to achieve the correct cutting depth with the bit
- (1) Router base plate, to allow the router to glide around while you cut the receiver
Some router jigs will ditch the space plate and instead use thicker template plates. The router needs to be seated on the base plate to provide stable cuts, so the plate is polished. It also requires frequent lubrication to prevent friction or binding while you move the router around and cut the receiver.
Advantages of Using a Router-Based Jig
Routers are powerful and stable when used properly. They provide generally clean cuts on the inner walls of the receiver with the provided end mill bit.
Disadvantages of Using a Router-Based Jig
Potentially poor control and safety
Routers don't provide full depth adjustment of the cutting bit while in use. To successfully cut your receiver blank with a router, thin layers of aluminum need to be removed. That means making a cutting pass, turning off the router, loosening the bit, re-sizing it to the next depth (usually in 1/4" increments), tightening the bit, lowering the router back into the receiver while the bit is spinning, and continuing cutting. Rinse and repeat until the final cutting depth is achieved.
This process can be slow and potentially dangerous. If the bit is dull from working, it can catch on the edges of the pilot hole as the router winds up. The high torque of the electric motor can fight you, and in rare cases, losing control of the router is possible. Routers are generally designed for cuttings edges on wood trim or light metal fixtures, not milling firearm-grade billet or forged components.
Wearing out jig plates and templates
Since the router needs to be firmly seated against the jig's base plate, there is "tool-on-tool" contact. Frequent lubrication and cleaning of the router plate is required to ensure the router moves freely while cutting. Aluminum debris and shavings can become trapped between the router and plate, causing burs and damage to the plate over time.
Overall cost of tools and equipment
Lastly, router jigs are more expensive since they require additional plates for interfacing with the router itself. You also still need to invest in a drill press to properly drill the pin holes in your 80% lower, meaning you've already bought one tool that can be used to get the entire job done, minus the need for a router and router-type jig.
How an 80% Drill Press/Mill Jig Works

Like the router jig, the drill press or milling jig uses similar components:
- (2) Side Plates with holes for drilling the pin holes
- (1) Top pilot hole plate for drilling pilot holes for cutting
- (3) Top cutting template plates, for cutting the fire control cavity
- (1) Template spacer plate, for seating each template atop the jig
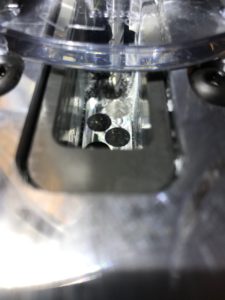
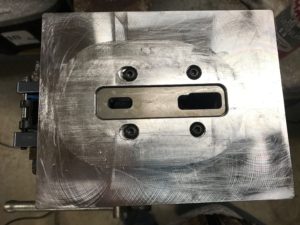
A drill/mill jig ( in this example, the Elite Builder AR-15 Jig) provides generally the same function as a router-based jig. The side plates provide the pin hole drilling templates for the parts kit, and the top plates provide the guides for cutting the fire control cavity. Except here, the fire control cavity isn't cut by hand. You instead use plunge cuts with the provided end mill bit (if using a drill press) followed by very light milling with the press to clean up any rough edges inside the cavity. Or, you can properly mill the entire cavity in short order if using a milling machine.
Advantages of Using a Drill Press or Milling Jig
Drill/mill jigs are less expensive than router jigs since they require fewer components. Since there is no tool-on-tool contact, the chances of damaging a plate are much lower, too. Drill presses and mills also provide more precision and stability. Instead of requiring you to control the cutting bit's movement by hand, either machine uses a cross-slide vise to control the left/right and forward/back movement. That makes using a drill press or mill a safer option than a router.
Lastly, the depth of the end mill bit on either machine is controlled while the bit is secured and the machine is running. You don't need to remove the bit from the receiver or stop down to adjust the cutting depth manually. This makes overall machining time much quicker, especially if using a mill -- think approximately 5 to 15 minutes of cutting time, versus approximately 15 to 45 minutes of cutting time with a router.
Disadvantages of Using a Drill/Mill Jig
There are no disadvantages of using a milling machine with a drill/mill jig when compared to a router. The mill acts like a router (or rather, the router tries to imitate a proper mill) minus the need for manual control and depth adjustment. The only disadvantages of using this jig type can be found when using a drill press.
Cost of extra cutting bits
Using plunge cuts to mill out the fire control cavity can dull an end mill bit more quickly than when used with a router or mill, since end mill bits are more efficient when being side-loaded (cutting left to right, forward to back). However, the cost of an extra end mill bit is comparable to or less than the cost of purchasing replacement plates for a router-type jig if or when they get damaged.
DISCLAIMER: If you are new to the world of DIY gun building, you likely have a lot of questions and rightfully so. It’s an area that has a lot of questions that, without the correct answers, could have some serious implications. At GunBuilders.com, we are by no means providing this content on our website to serve as legal advice or legal counsel. We encourage each and every builder to perform their own research around their respective State laws as well as educating themselves on the Federal laws. When performing your own research, please be sure that you are getting your information from a reliable source.